

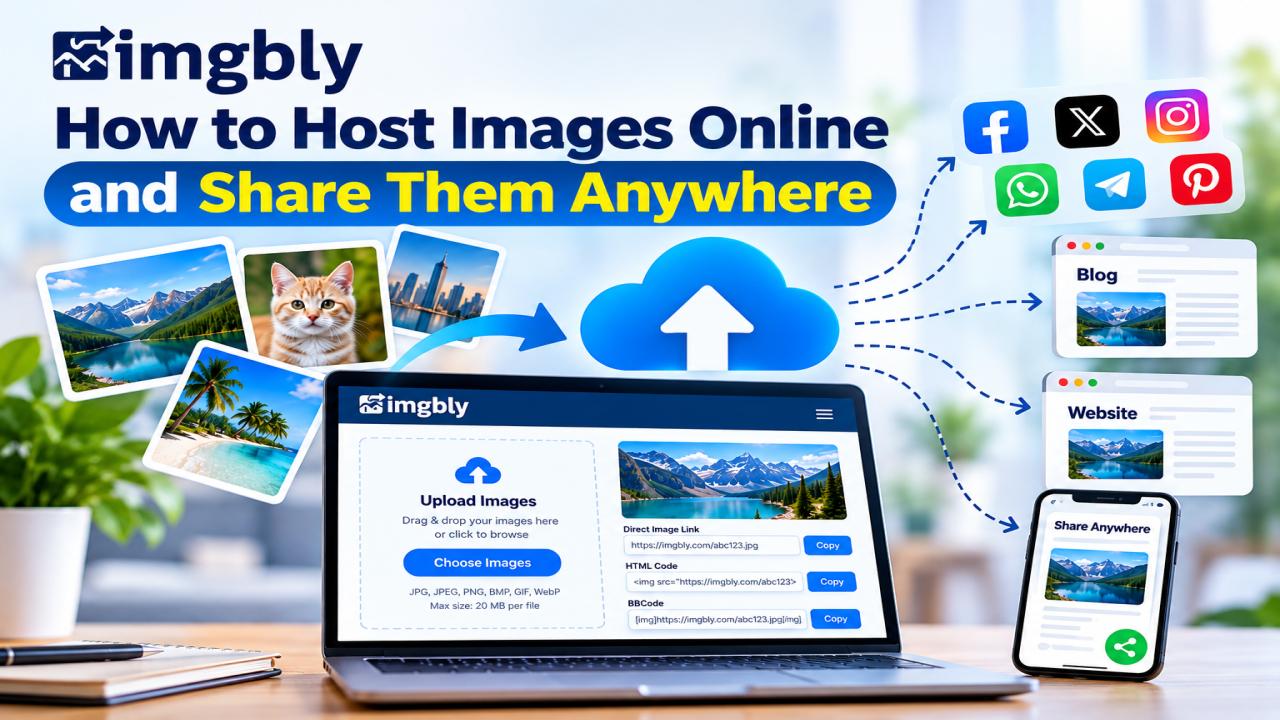
How to Host Images Online and Share Them Anywhere
A photo is often easier to understand than a long explanation. A shop owner can show a customer the exact product color, a teacher can share a diagram, a designer can present an early draft, and a support agent can explain a problem with one screenshot. Yet sharing becomes frustrating when an email rejects a large attachment, a messaging app reduces image quality, or a forum asks for an image URL instead of a file. Learning how to host images online solves a practical part of this problem. You upload a picture to an image hosting service, the service stores a copy, and you receive a link that other people can open. You can then reuse that link without attaching the same picture in every conversation. The concept is straightforward, but a dependable workflow involves more than choosing a file and pressing Upload.
You need to select the right format, understand whether the link points to a viewing page or the actual image, check the audience's access, and keep a separate copy of anything important. These habits make image sharing smoother for personal projects and business communication alike. Consider a small online seller who answers the same question about a product several times a day. Instead of finding and resending a photograph repeatedly, the seller can prepare one clear image, upload it, and share its address when the question comes up. A blogger faces a similar problem when adding a tutorial screenshot to a page. An image host can provide a reusable address, while an embed option may make it easier to place the picture inside supported websites or forum posts. Image hosting does not remove the need to follow each destination platform's rules, and it is not automatically a private storage service.
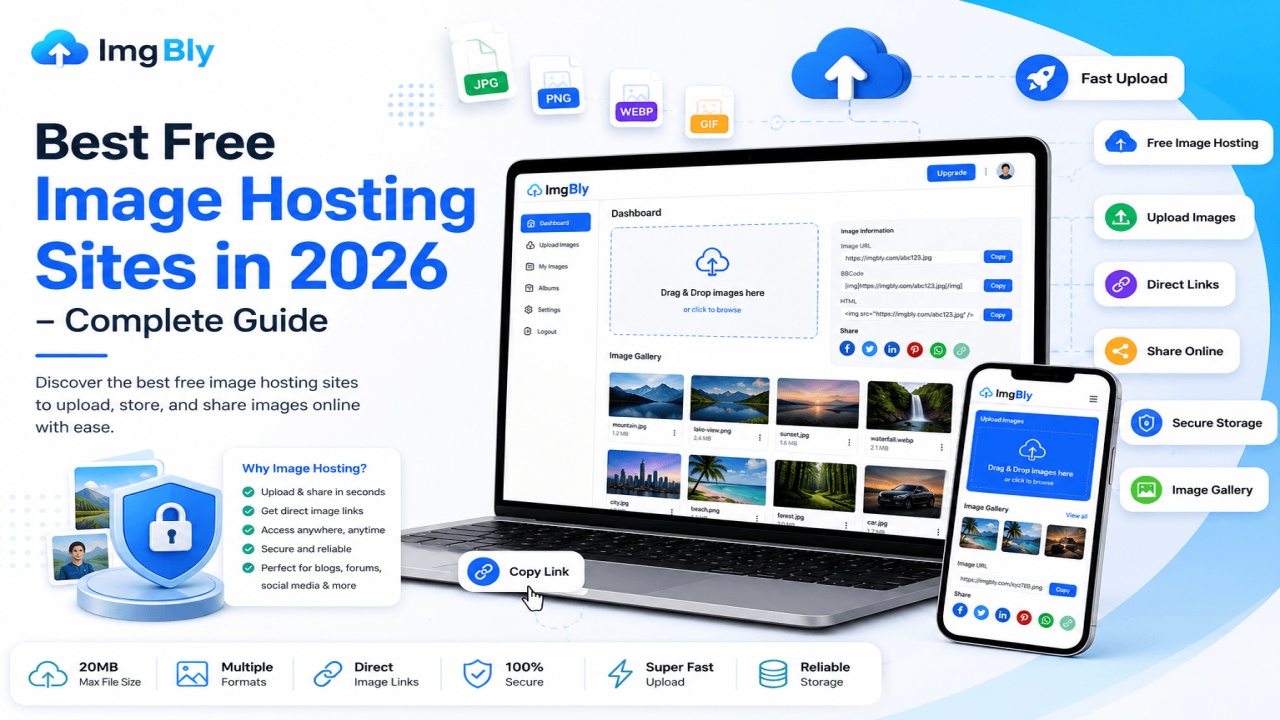
It is simply a convenient way to make an authorized image available through a web link. ImgBly is one example of a service built around this process. Its upload page lists JPG, JPEG, PNG, BMP, GIF, and WebP as accepted image formats, and the service offers direct links along with HTML and BBCode sharing options. Its public free-plan information shows a 20 MB per-file limit, although users should confirm current limits on the site before uploading.
For a broader introduction to the topic, read a beginner’s guide to image hosting. This article focuses on what to do next: how to prepare an image, how to upload it, how to choose the right sharing method, and how to avoid mistakes that cause broken links, poor presentation, or accidental exposure of personal information. You do not need to be a developer or own a web server to follow the process. Start with a picture you have permission to use, a browser, and a clear idea of who should see it. By the end, you will have a repeatable approach that works for product previews, portfolio samples, study materials, support screenshots, and everyday visual communication, without assuming that every website accepts every kind of embedded image.
A useful starting exercise is to take a harmless screenshot of a sample document, save it with a simple filename, and think about where it should appear. Would a friend need only a clickable preview, or would a website editor need the actual file address? Asking that question before uploading can prevent mistakes later, especially when you are sharing images for the first time.
Why Online Image Hosting Matters for People and Businesses
The biggest benefit of online image hosting is convenience, but its value becomes clearer when you think about repeated sharing, consistency, and access. If you attach the same image to five different emails, you have created five separate copies in five separate conversations. When you host images online, one uploaded file can have an address you share with several people, subject to the host's rules and the destination's link policies. That makes routine communication easier to organize. A freelancer may send design previews to a client, a nonprofit may share an event poster with volunteers, and a small shop may give staff a single source for an approved promotional graphic.
Each person can use the provided link rather than hunting through old messages. For a website owner, hosted images also have a technical role. A direct image URL may be used in HTML or a compatible content management system, while a viewer-page URL is more suitable when you want someone to open a page containing the image. Confusing the two can cause a website to display the wrong thing or nothing at all. Sharing codes can help, too: HTML embed code is intended for websites that accept HTML, and BBCode is mainly useful on forums that support that syntax. Neither method overrides a community's posting restrictions or an application's security settings. Good image hosting also improves your workflow by encouraging you to prepare files deliberately. A product photo should show the item clearly; an instructional screenshot should focus on the necessary controls; and a chart should use readable text and sensible contrast.
That preparation can make the result more helpful than an unedited, oversized file. It also reduces the chance of wasting storage on unnecessary versions. Another advantage is portability of the link: you can place it in an approved message, a blog, documentation, or a collaborative note without requiring every recipient to use the same attachment system. However, online availability is not the same as permanent archiving. Even when a plan displays an unlimited storage duration, providers may remove prohibited content, change policies, or experience interruptions. Keep originals in a separate location, especially if images are part of a business record or a long-running website.
Privacy deserves equal attention. Public image links may be forwarded, copied, indexed, or seen by people outside your intended group. Some hosts provide passwords or deletion options, but you must check what they protect and whether direct file links remain reachable. Never upload identity documents, customer records, private conversations, or other confidential material to a public sharing workflow. Before uploading, remove sensitive screen details and consider whether a private, access-controlled document service would be more appropriate.
The best reason to host images online is therefore not that it makes every image public forever. It is that it gives you a practical publishing and sharing method when the material is suitable for online access. With thoughtful file preparation, link testing, and backups, even a beginner can make visual communication easier to repeat, easier to understand, and less dependent on sending attachments over and over again. For teams, another practical benefit is clarity about versions. If two employees share different versions of a sale banner, customers may receive inconsistent information. A simple image library, combined with a record of approved links, helps teams know which version is current.
Step-by-Step Guide, Part One: Prepare and Upload Your Images
Step 1: Decide what you are sharing and with whom
Before opening an upload page, define the purpose of the image. A public product photograph, a classroom illustration, and a private customer screenshot have very different audiences. A public image host is appropriate for material you are comfortable making accessible through a link. If your image includes a home address, phone number, student details, private message, license plate, or another identifying detail that is not needed, crop or obscure that information first. Also confirm you own the image or have permission to upload and distribute it. Finding a picture in an online search does not automatically give you publishing rights.
Step 2: Select an appropriate image format
JPEG or JPG is a common choice for photographs; PNG is useful for crisp text, logos, or images needing transparent backgrounds; WebP often offers efficient compression; and GIF is useful for simple animations where supported. BMP files may be accepted but can be relatively large, so consider converting one to a more practical format when image quality allows. If you need help understanding image formats and performance, Google's Learn Images resource is a useful technical learning resource. Avoid converting files repeatedly without keeping an original, because some conversions reduce quality.
Step 3: Give the file a useful name and suitable dimensions
Names such as blue-chair-front.jpg or checkout-error-screenshot.png are more useful to your own team than IMG_0047-final-final.jpg. Use descriptive words, but do not put passwords, account numbers, or personal information in filenames. Crop empty space, rotate the picture correctly, and ensure important text is readable on a phone screen. For a blog graphic, check the content area where it will appear before deciding on width and height. For a product photo, show the item without misleading edits. Optimize the file size enough to keep sharing practical while preserving the detail your audience needs.
Step 4: Review the host's current upload rules
ImgBly's free upload interface currently displays a 20 MB image size limit, a limited number of simultaneous uploads, and several supported formats. Plan limits and available features can change, so read the upload page when you use it rather than relying on an old tutorial. Do not assume you need an account for every basic upload; the site's FAQ describes account-free uploading when enabled.
Step 5: Upload carefully
Open the image host in your browser, use its drag-and-drop area or file picker, select the prepared file, and review any available settings before submitting. ImgBly's public upload interface shows password protection and an auto-delete selector. If either feature is relevant, read how it works before relying on it; an auto-delete choice can make a link unsuitable for content you expect to remain accessible.
Step 6: Understand the available sharing choices
A hosting service may provide a share-page link, a direct image URL, HTML embed code, and BBCode. These are related but not interchangeable. A share-page link opens a webpage where the image appears, sometimes alongside other options or information. A direct image URL is intended to load the picture resource itself. HTML embed code normally includes an image element for websites that permit HTML, while BBCode is designed for compatible discussion boards. ImgBly's image pages visibly provide share-link, HTML-code, and BBCode fields, so choose the format that matches what you are trying to accomplish. For a more detailed explanation of the difference, see a guide to getting a direct image link.
Step 7: Copy the correct link and test it
Use the provided Copy control when available, then paste the result into a new private browsing window or a browser where you are not signed in. This checks whether the recipient can open the resource without your account session. If the page asks for a password, make sure that behavior is expected and share access information through an appropriate separate channel. If you wanted a direct file URL but landed on a viewer page, return to the upload result and look for the dedicated direct-link field. Do not assume that adding a file extension to the end of a webpage address will turn it into a direct link.
Step 8: Share according to the destination
For email or a messaging app, a normal share link is usually easiest because the recipient can click it. For a blog post or documentation page, use the editor's image insertion feature if it accepts remote image URLs, or its approved HTML option if you understand that format. For a forum, use BBCode only when the forum explicitly supports it. Social networks differ: some turn links into previews, some require native uploads for image posts, and some restrict remote images. When a platform does not support direct embedding, share the URL as a link or upload the image through that platform's normal tools. Never attempt to work around a website's access controls or upload requirements.
Step 9: Test the final destination, not only the original link
After you publish a page, open it on multiple devices. Check whether the image appears, whether its text is legible, whether it stretches awkwardly, and whether the surrounding caption makes sense. A link that works in your own browser may fail in another context because the destination strips HTML, changes markup, blocks external resources, or handles previews differently. If you are responsible for a website, provide meaningful alternative text so that readers using assistive technology understand the image's function. For a decorative image, follow your publishing platform's accessibility guidance.
Step 10: Record what you published
Save the original file and the tested URL in a simple project note. Include a brief description, the place where the image was used, and whether it has an expiration or deletion setting. That small habit prevents confusion when you later replace a product photo, update a tutorial, or remove an outdated campaign graphic. Reusing one verified image address is helpful; knowing where you reused it is even better. If a link later stops working, the record gives you a clear starting point for repairs. It also helps you avoid accidentally leaving outdated illustrations on important pages after a product or process changes.
Common Mistakes When You Host Images Online and How to Avoid Them
Many unsuccessful uploads are caused by small decisions made before or after the file reaches the server. One common mistake is choosing the wrong file format. A large PNG photograph may load more slowly than necessary, while a heavily compressed JPEG can make a screenshot's fine text difficult to read. Choose formats based on image content and test the result at the size people will actually see. Another mistake is uploading the full-resolution original when a smaller display image would do. A huge file can consume a visitor's mobile data and make the page feel slow, especially on weaker connections. Keep the high-quality original offline, then prepare a display copy appropriate for the task.
The opposite mistake is compressing until important details disappear. Saving a few kilobytes is not worthwhile if a customer cannot distinguish product features or a reader cannot follow an instruction. A third mistake is sharing an image viewer URL where a direct file address is required. This is especially frustrating in HTML templates, forum posts, and application fields that expect an image resource. Open the URL separately to see what it returns; select the correct share option rather than guessing. A fourth mistake is failing to test audience access. You may see a picture because you are logged into your account, while a recipient may see an error, a password prompt, or a restricted page.
Test with an unsigned-in browser and, if possible, ask a colleague to check before launching an important announcement. A fifth mistake is treating a difficult-to-guess URL as privacy protection. Links travel through forwarded messages, screenshots, browser history, and other ordinary channels. Use an appropriate private sharing service for confidential images, and never mistake a public host for secure document storage.
Even where password options exist, understand which page or file the password actually protects. A sixth mistake is ignoring copyright and consent. Product brands, stock photos, portraits, artwork, and screenshots can carry rights or personal-information concerns. Use your own work or properly licensed material, credit creators where the license requires it, and get permission when needed. A seventh mistake is assuming the hosting provider guarantees your image will be available forever. Published storage-duration labels describe a plan, not a promise that maintenance issues, policy enforcement, or service changes can never affect a link. Keep backups and avoid making critical business operations depend on a single untested image address. Another error is failing to label your files or record links. When all your graphics have random names, replacing one advertisement or locating an old mockup becomes surprisingly difficult.
Finally, beginners sometimes share an image successfully but forget the viewer experience. A phone user may struggle with tiny labels, a screen reader user may encounter missing alternative text, or a customer may not understand what the screenshot is supposed to demonstrate. Add context, make visual details readable, and review the final post on multiple devices. If an image fails, diagnose the specific issue instead of reuploading repeatedly: check link type, permissions, size, format, destination rules, and whether the host is temporarily unavailable.
These straightforward checks address many problems without complicated tools or technical knowledge. Checking each possibility separately makes it easier to identify whether the problem came from the uploaded file, the generated address, or the destination website, instead of creating several confusing replacement copies.
Frequently Asked Questions, Final Advice, and Next Steps
What does it mean to host images online?
It means storing an image on a web-accessible service that can provide a link for viewing or embedding the file. You do not need to run your own server for the basic workflow.
Can I host images online for free?
Yes, some services offer a free plan with limits. ImgBly currently lists a free Starter option with 2 GB of storage, up to 20 MB per file, and two simultaneous uploads, subject to current plan details and its terms. Free does not necessarily mean unlimited space, guaranteed availability, or absence of advertising.
Do I need to register?
Not always. Some image hosts allow guest uploads; ImgBly's FAQ says uploading without an account may be possible when that option is enabled. Registering can be helpful if you want access to account-based management features, but check what is offered before deciding.
Which format should I upload?
Use JPG or JPEG for many photos, PNG for graphics that need transparent areas or crisp text, WebP when a compatible, efficient web image is useful, and GIF for simple animations when appropriate. Always check the site's accepted formats.
How do I get a direct image link?
Upload the file, look for a direct-link option, copy its address, and open it in a separate browser tab. A direct URL should resolve to the image resource rather than only to a gallery or information page.
Can I share one link on WhatsApp, email, blogs, and forums?
You can often share the URL, but each destination controls how links are displayed. Some platforms create previews, others display only clickable text, and websites may require a compatible embedding method.
Are publicly hosted images private?
Do not assume so. Anyone with an accessible link may be able to share it further. Use appropriate access-controlled storage for confidential materials and verify any protection options carefully.
Will the image remain online permanently?
Do not rely on permanence. Storage labels and provider policies can change, and material may become unavailable because of deletion settings, rule violations, or service issues. Retain original copies.
What if an image does not appear?
Check the URL, the correct link type, file format, access settings, and whether the destination allows external images. Test from a different browser before uploading again.
Can I use hosted images for business?
Many routine business images are suitable, including authorized product photography and public promotional graphics. Follow the host's terms, applicable rights, and the publishing rules of the platform where you share them.
For more platform-specific answers, consult ImgBly’s frequently asked questions. The central lesson is that successful image sharing combines three habits: prepare the file, verify the link, and respect the audience. Technical features are useful, but they cannot replace good judgment about privacy, copyright, readability, and backups. Begin with one ordinary, non-sensitive image and practice the complete process from selection to final preview.
Once you have repeated it a few times, you can build a small library of reliable hosted graphics for your blog, store, portfolio, or team documentation.
Ready to try it?
Visit ImgBly, choose an image you are allowed to share, review the current upload limits, upload it, copy the appropriate link, and test that link before sending it anywhere. The goal is not merely to put a picture on a server; it is to make that picture useful, easy to access, and responsibly shared wherever your audience needs it.


Comments (0)