

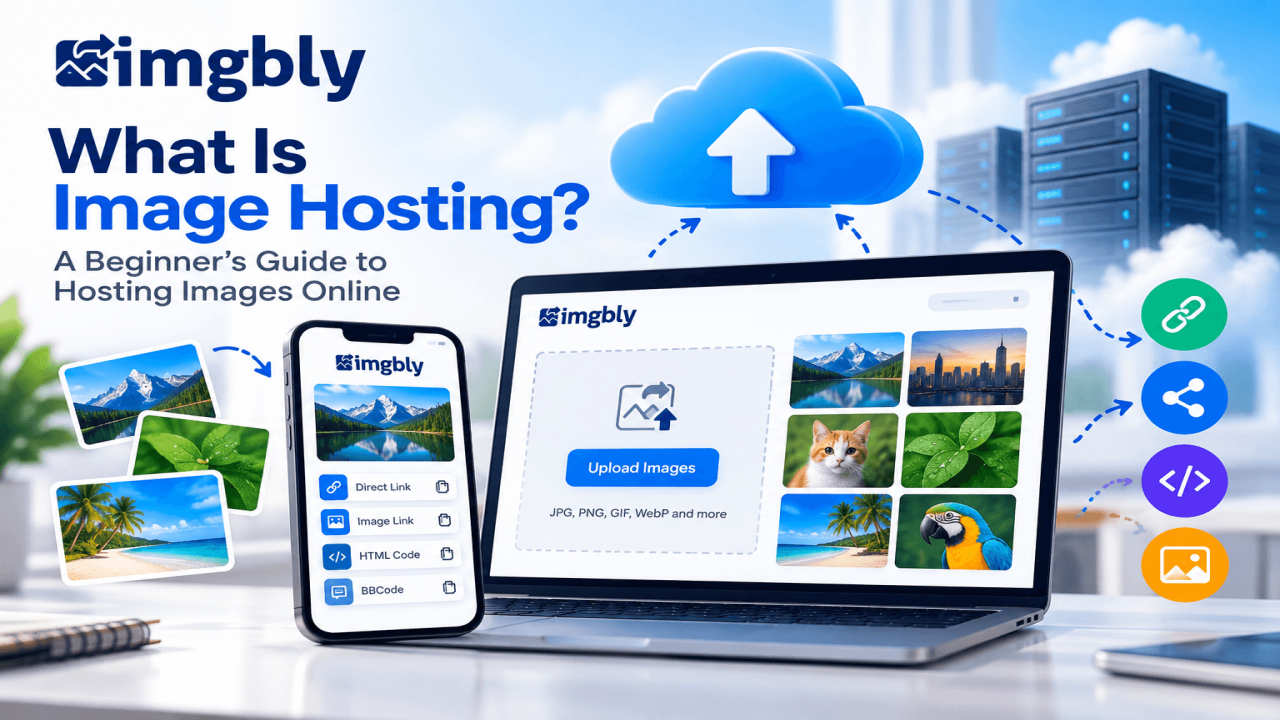
What Is Image Hosting? A Beginner’s Guide to Hosting Images Online
If you have ever tried to send a picture of a product include a screenshot in a blog post or show a design preview to a customer you have probably had a problem: where should the image be so other people can see it? Sending the file with every message works sometimes but it becomes a hassle when you need to share the picture many times or show it on a website. This is when a simple question is helpful: what is image hosting? Image hosting is the process of putting a picture on a service that stores it on a server and gives it a web address, which is usually called a URL.
Of asking everyone to download a separate attachment you can send the address of the picture or put that address in content that works on a website. The server keeps the file. A browser gets and shows it when someone clicks the link. You do not need to own a server know how to set up a network or write any software to use an image hosting website. Imagine a shop owner who takes a picture of a new item and wants to show the same picture to five customers, a supplier and a web designer. Uploading the picture once and sharing a working link can make that easier. A teacher might share a diagram with students; a blogger might put screenshots in a guide about fixing problems; a freelancer might show a client a draft banner.
The main idea stays the same even though these people have purposes. It is important however to know the difference between hosting and creating or editing an image. A hosting service gives storage and a way to get an uploaded file. It does not make a blurry photo clearer prove the picture is yours or make sure every website will accept the link. Also a picture link is not the same as an image attachment.
The person who gets the link usually needs to be connected to the internet. The link has to work when they open it. Many services offer file links, page links or codes for putting images on web pages. These options are for uses and this guide will explain them in simple words. Free services might have limits on how storage they offer how big the files can be, how many uploads they allow who can see the pictures or if they show ads. So reading their rules is important. A service that says it keeps your files for a time does not mean you should throw away your original pictures or think the link will always work. For someone just starting out the best place to begin is to understand the path of one picture: pick a picture that works upload it to a host get a link that works check the link and share it in a good way.
Once that process makes sense complicated topics like file types, privacy making pictures better and putting them on websites become easier. This guide is meant to explain what is image hosting without using words and to show how a simple way of working helps regular people and small businesses share pictures. You will also learn how to choose a service based on what you need instead of what is promised. You will avoid mistakes that cause pictures and develop a habit that keeps your pictures safe and the people, in them safe too. The goal is not to put every picture you have online. It is to know when using online image hosting solves a problem and when another way of storing pictures is better.
Why Image Hosting Matters for Beginners, Creators, and Businesses
Image hosting matters because pictures often explain something faster than a lengthy written description. A customer asking which product color is available may understand one clear photograph more readily than several messages. A support technician can identify a software problem from a carefully cropped screenshot. A student can follow a visual example while reading instructions. By keeping an image at an accessible online location, the sender can reuse its link in appropriate places without attaching the original file repeatedly.
This convenience is especially valuable for small teams handling many conversations, provided their shared links remain organized and available. Consider an online seller preparing a product catalog. Every item might require a front view, a side view, and a close-up of an important detail. Hosting those pictures can make it easier to send examples to interested customers or prepare material for a site, but the seller still needs accurate descriptions, permission to use the photographs, and a sensible file naming system. For bloggers, hosting is useful when an article needs diagrams, tutorial screenshots, or illustrations. For community members, a direct image address or forum code may be easier than uploading separate attachments to each discussion. For developers, image URLs can connect visual assets to an application, although business-critical applications may need more predictable delivery infrastructure.
The primary benefits are convenience, repeatable sharing, and separation between the image file and the conversation where it appears. Some hosting services also provide embed codes, account dashboards, deletion tools, or access controls. These are features to check individually, not assumptions to make about every provider. Hosting an image away from your website can reduce the amount of image data stored on your own web server, but that alone does not guarantee a faster website. Actual speed depends on file size, distance, caching, connectivity, image dimensions, and the third-party server's performance. A poorly optimized picture may remain slow even when hosted elsewhere. Privacy is another important consideration. A link that is difficult to guess is not necessarily private, and a public image should generally be treated as viewable by anyone who receives or discovers its address.
Password-protected sharing, where offered, adds a useful control but should not replace judgment about confidential information. Before uploading, remove personal details you do not want shared and obtain consent when appropriate. You should also keep original photographs in a separate, reliable backup location.
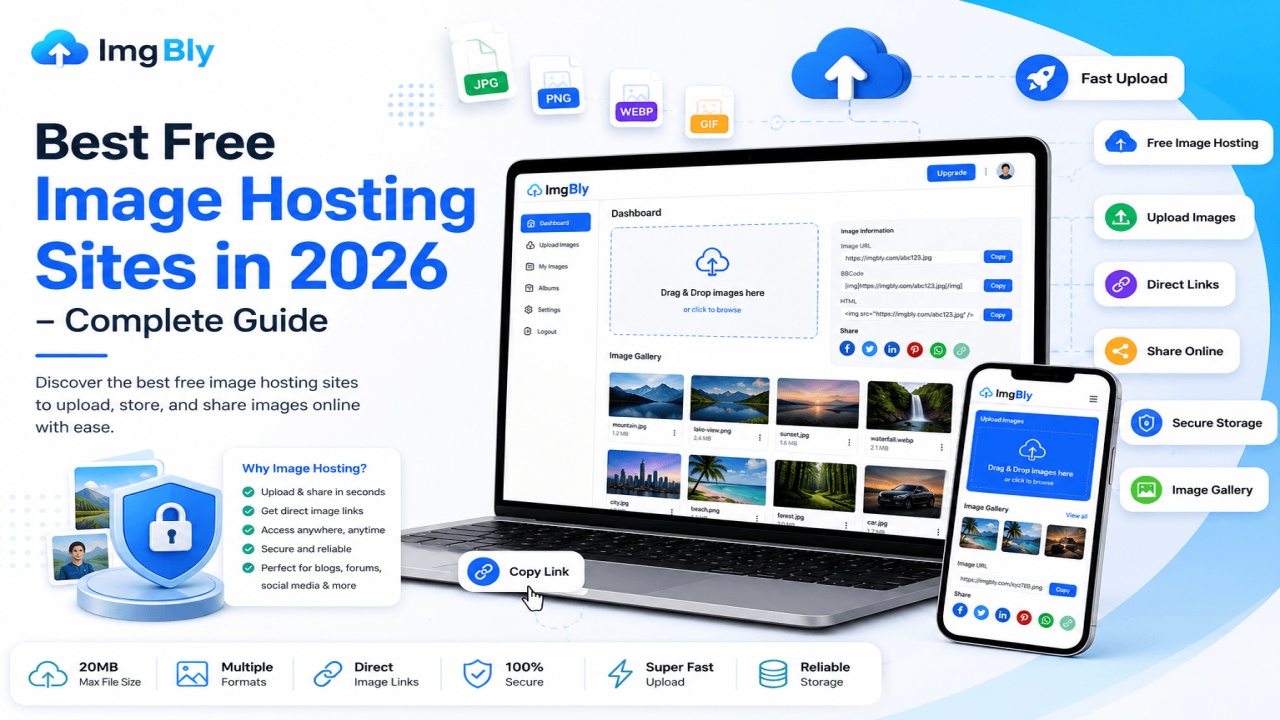
An image host is a sharing tool, not automatically a complete backup strategy. Cost matters to people starting out. A free plan may be sufficient for a few blog illustrations or customer screenshots, but limited storage, individual file-size caps, advertisements, and service rules may affect ongoing use. Compare those practical details before making a decision, especially if images will appear in material that customers depend on. Our related guide to best free image hosting sites in 2026 explores how different services serve different use cases. The sensible approach is to begin with a modest, real-life test rather than moving an entire image library at once.
Upload one non-sensitive picture, verify its sharing options, check it on another device, and consider whether its accessibility meets your needs. If it does, image hosting can become a straightforward part of your daily workflow; if it does not, knowing the limitations early can save a great deal of work later. Ask a colleague to try the link as well, because an independent check often catches small issues you missed.
Image Hosting Explained: Links, Formats, Storage, and Performance
To understand image hosting beyond the basic definition, picture three separate parts working together: the image file, the online storage system, and the link that points to the stored content. You begin with a digital file, perhaps a JPEG product photograph, a PNG screenshot, a WebP blog illustration, or a GIF animation. During upload, the service receives the file, checks whether it meets the provider's rules, and makes it available through its sharing interface if accepted. A normal page link opens a web page containing the picture along with other controls or information.
A direct image link is intended to open the file itself, which is often what an HTML image element or forum embed needs. An HTML embed snippet inserts an image into supported web content, while BBCode is used on some discussion boards. These methods are related but are not interchangeable; choose the format required by the destination. File formats influence both appearance and download size. JPEG is a common choice for photographs because it compresses complex images efficiently, although aggressive compression can reduce visible quality. PNG works well for diagrams, screenshots with sharp edges, and transparent graphics, but large PNG photographs may be unnecessarily heavy.
WebP can provide efficient compression for many web images, while GIF is familiar for simple animations but may create large files. Compatibility and upload policies still vary, so confirm the formats your chosen platform accepts. Dimensions matter alongside formats. A 4,000-pixel-wide image might be useful as an original, but displaying it in a narrow article column may waste download data unless a smaller version is served. Image hosting and image optimization are therefore related rather than identical tasks. Hosting determines where the file lives and how it is delivered; optimization focuses on reducing unnecessary bytes, selecting suitable formats, and presenting images at appropriate sizes.
The Cloudflare guide to image optimization explains techniques such as resizing, modern formats, and delaying off-screen images; these concepts are useful even if you never use that particular service. Another concept is hotlinking, which occurs when one website displays a picture served from another site's URL. Some hosts permit this through direct links and embed codes, while others restrict it, limit traffic, or change access policies.
Never assume that because a picture opens in your browser it is approved for use on a commercial site. Storage quotas determine how much content an account can keep, while per-file limits determine the maximum size of an individual upload. A browser displaying an image also downloads data, so pages with many large pictures may feel slow on limited connections. For an important business page, test a realistic collection of images together instead of checking only a single file in isolation. These numbers answer different questions and need checking separately. ImgBly's published free Starter listing, for example, currently shows 2 GB of storage, a 20 MB limit per file, direct image links, and HTML and BBCode options; offerings can change, so verify the current plan before relying on them.
The same site lists password protection, which may help manage sharing but should not be interpreted as an invitation to store sensitive records. Finally, remember that a hosted link depends on an external service remaining available. Maintain original copies, document where important images are used, and keep a replacement process ready. Understanding these technical basics makes it easier to choose a platform confidently without confusing convenience with an unconditional promise of speed, security, or permanence.
Step-by-Step Guide: How to Host and Share an Image Online
The easiest way to learn what is image hosting is to complete one upload yourself with a picture that you own and are comfortable sharing. The following walkthrough uses ImgBly as a practical example, but the overall sequence applies to many image hosting services.
Step 1 — Choose the image and confirm permission. Pick a product picture, tutorial graphic, or harmless screenshot that you created or are authorized to publish. Avoid identification documents, private conversations, account numbers, customer details, and images of other people without appropriate consent. If your screenshot contains personal information, remove it before continuing.
Step 2 — Prepare the file. Give it a descriptive name such as blue-ceramic-mug-front.jpg rather than IMG_1234.jpg. Check that the image is upright, readable, and correctly cropped. Choose JPEG for many photographs, PNG for images needing transparency or clear interface details, and WebP when appropriate and supported. Reduce oversized dimensions if they are unnecessary for your intended display.
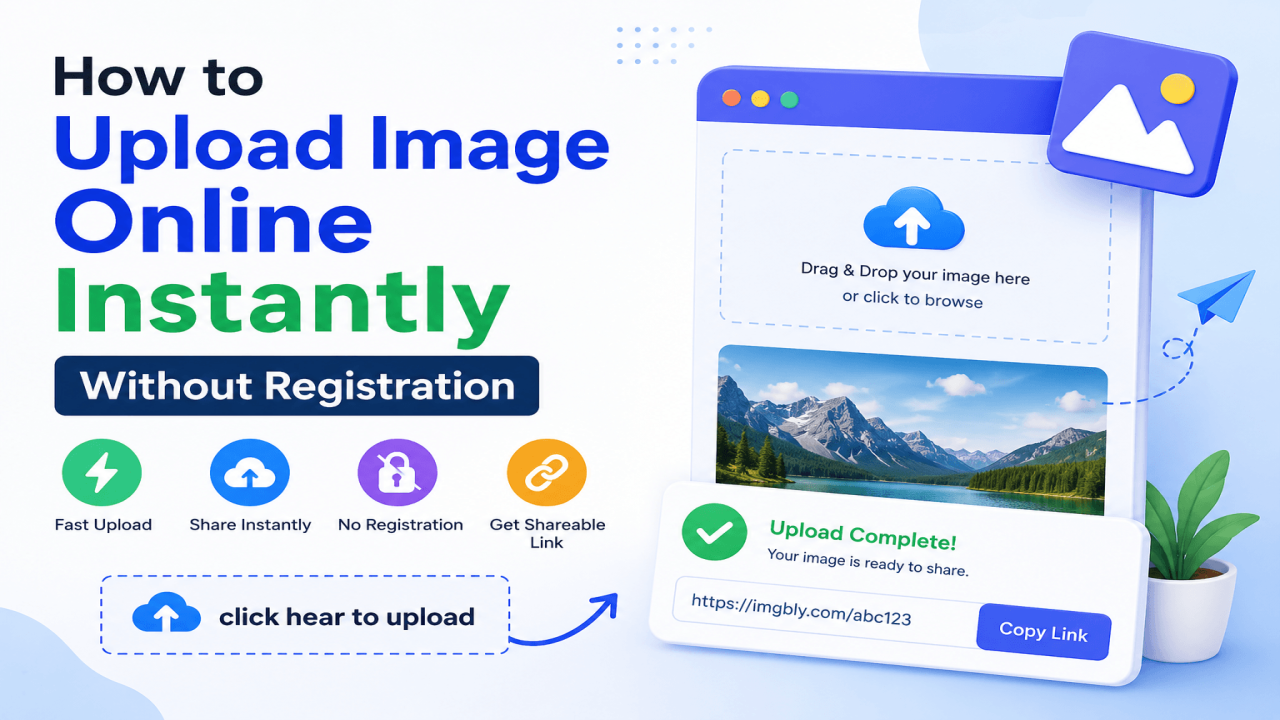
Step 3 — Open the image hosting website. Visit ImgBly's homepage through your normal browser and locate the upload area. Its current interface offers drag-and-drop uploading or a browse option, and it identifies supported formats including JPG, JPEG, PNG, BMP, GIF, and WebP. Always review on-screen requirements because providers may revise their interface and limits.
Step 4 — Check the active plan and settings. The advertised free Starter plan currently lists a 20 MB per-file cap and permits two files at a time. Before uploading, read any relevant options for a password or automatic deletion; do not select a deletion setting if the picture must remain available in a long-lived article. If you want to manage an ongoing collection, consider whether an account would make tracking files easier.
Step 5 — Upload the image. Drag the prepared file into the uploader or choose it from your device, then select the upload control and let the process finish. If it fails, verify the file type, size, internet connection, and any displayed error message instead of repeatedly sending the same large file.
Step 6 — Choose the correct sharing output. Once processing succeeds, look for the direct image URL, a normal viewing link, or the available HTML and BBCode formats. Use the link format that matches your destination. Our guide to direct image links and how to share images explains why a direct file address differs from a page link.
Step 7 — Test before publishing. Open the chosen link in a separate browser tab and, where practical, test it on another device or a signed-out session. Check whether the recipient sees the image and whether the link requests a password you intended to use.
Step 8 — Share or embed responsibly. Paste a viewing link into a relevant message, or use permitted embed code in a blog or forum that supports it. Add useful alternative text when publishing an image on a website so readers using assistive technologies receive the necessary context.
Step 9 — Keep a record and a backup. Save the source file separately and record the hosted address alongside the page or project where it appears. Later, revisit important links to verify they still work. This short routine is more valuable than uploading in a hurry: it turns a one-off action into a dependable sharing process and helps you catch accessibility, permission, and compatibility problems before they reach your audience.
Common Image Hosting Mistakes and How to Avoid Them
Most image hosting frustrations are caused not by complex technology but by skipped checks. The first common mistake is using the wrong kind of link. Someone uploads a photo, copies the address of its surrounding page, and then pastes that address into a website field expecting a direct image file. The result may be a broken image or an unexpected preview. To fix this, locate the host's direct link or supported embed code and test it in the destination environment.
The second mistake is uploading a picture that is unnecessarily large. An original photograph may contain far more pixels than a blog sidebar or product thumbnail can display. Large files can consume storage and take longer to load, especially on mobile connections. Keep the full-resolution original safely, then prepare a smaller sharing copy that remains sharp at its intended size. A third mistake is assuming that every hosted picture is private. Public links can be forwarded, indexed under some circumstances, or opened by unintended viewers. Even a password feature cannot undo information already shared publicly. Use permission-conscious content, remove identifying details, and avoid uploading confidential documents to a general-purpose image host. A fourth mistake is treating free hosting as unlimited in every sense.
A plan may advertise convenient sharing while still having storage, upload, bandwidth, account, or content-policy conditions. Read the current details and watch usage rather than relying on a slogan from an old article. Fifth, beginners sometimes forget to keep originals. If a file is removed, an account becomes inaccessible, or a link breaks, an external upload may not be recoverable. Keep independent backups and maintain a simple folder structure, such as project name followed by image purpose and date. Sixth, people may copy photographs from search results and upload them without checking usage rights. Availability online does not mean permission for redistribution or commercial use.
Prefer your own images or material covered by an appropriate license, and honor attribution requirements where they apply. Seventh, image owners may use vague names such as final2-new-last.png, then struggle to recognize files months later. A descriptive naming convention saves time, although names should not contain private information. Eighth, bloggers can forget alternative text or write repetitive keyword strings instead of describing what the picture conveys. Meaningful alt text should serve the reader first, using keywords only where genuinely relevant. Ninth, website owners sometimes move all essential product images to a third-party host without assessing availability, commercial-use policies, or any dependency on external URLs. A trial with less critical content is safer than making every product listing depend on an untested service. Tenth, people forget that changing or deleting a hosted image can affect multiple pages sharing the same link.
Before removing content, check where it is embedded and update those pages when necessary. Our related article on uploading, storing, and sharing images online offers additional everyday practices for maintaining useful links. When troubleshooting, follow a calm sequence: verify the original file, confirm that the upload finished, inspect the link type, check applicable access settings, and try another browser or network. If the destination still refuses to show the image, investigate whether that site allows external embedding. These steps solve many ordinary issues while avoiding risky workarounds or unsupported assumptions about the provider's infrastructure. A few extra minutes of validation can protect customer trust and prevent frustrating broken visuals in a published post.
Practical Image Hosting Checklist and Everyday Best Practices
A useful image hosting checklist begins before you click upload. Purpose: Write down why the picture needs to be online. Is it a temporary screenshot for a support conversation, a product image intended for months of use, or a diagram embedded in a learning resource? That decision shapes the right link type, retention expectation, privacy setting, and backup plan.
Ownership: Confirm that you created the image or have permission to use it. Look closely at screenshots for names, email addresses, phone numbers, private messages, and other information that should not appear online.
Quality: Make sure the key subject is visible, text remains readable at the intended display size, and colors are reasonably accurate. Format: Select a supported type suited to the content; JPEG often works for photos, PNG for crisp illustrations or transparency, and WebP for many web-friendly assets.
Size: Check both pixel dimensions and file size, then compare the result with the provider's current limit.
Name: Use short, descriptive filenames that make sense to a human reader and avoid stuffing in unrelated keywords.
Host: Evaluate the platform's upload limits, sharing options, retention rules, account management, and terms.
Access: Decide whether you need a public link, a protected link, or an entirely different private collaboration system.
Upload: Complete the process and look for an explicit success indication.
Link: Copy the correct output for your intended use, whether that is a viewing page, a direct file address, HTML code, or forum code.
Testing: Open the link outside the original upload screen and confirm that another person can use it as intended.
Publishing: Include descriptive alternative text and any required attribution on the page that displays the image.
Records: Save the original file and record where its hosted copy has been shared.
Maintenance: Periodically test important images, particularly those referenced in older tutorials or customer-facing documentation.
These checks may seem extensive when written together, but they quickly become a routine that takes very little effort for a typical upload. For a small business, adding a few organizational habits makes the process even more valuable. Create separate folders for product photographs, promotional graphics, educational screenshots, and archived versions. Keep a simple inventory containing the local filename, the hosted URL, the intended webpage, the image owner, and the last review date. Give staff clear guidelines about what must never be uploaded to a public service. When updating a product, replace old references carefully rather than leaving customers with contradictory visuals.
For a blogger, use the same preparation routine each time you publish a tutorial: capture a clear screenshot, remove irrelevant personal details, crop it to the action being explained, choose an appropriate format, upload it, and verify the final post on a phone as well as a desktop. For a freelancer sharing a design preview, explain whether the image is a draft and whether the link is intended for private review or public viewing. Neither an image host nor a shareable URL creates a copyright license by itself. For a student or casual user, the process can be simpler: choose a non-sensitive file, upload, test the address, and share it with the right people. Whatever the use case, do not confuse long advertised file availability with a guaranteed archival service.
Requirements change, providers revise policies, and access problems happen. The most dependable routine combines easy online sharing with responsible permissions, well-sized files, and your own independent copies. That combination makes image hosting genuinely practical instead of merely convenient for a day.
Frequently Asked Questions, Final Advice, and Call to Action
What is image hosting in simple words?
It means putting a picture on an online server so you can open or share it using a web link. Instead of attaching the same image repeatedly, you share a URL that points to the hosted copy.
Do I need a website to host images?
No. A dedicated image hosting platform can provide an upload interface and sharing link without requiring you to own a domain or run a server.
Can I host images for free?
Yes, some services offer free plans, but you should check their storage quotas, per-file limits, advertising, permitted uses, and retention policies. Free does not necessarily mean unlimited capacity or a guarantee that links will work forever.
What is the difference between an image link and an embed code?
A normal link gives someone an address to open; a direct image URL points to image content; an embed code tells a compatible webpage or forum how to display the picture. The destination determines which option works best.
Can I use hosted images in WordPress?
Often, yes, when the hosting service permits external display and you use a compatible URL or embed method. Check your theme, editor, and the host's rules, and remember that the picture may stop displaying if the external file becomes unavailable.
Will image hosting automatically make my website faster?
Not necessarily. Actual results depend on image weight, responsive sizing, network conditions, caching, and the delivery service. Optimize the file and test the page rather than assuming a speed improvement.
Which format should I upload?
Choose a supported format that fits the image: JPEG for many photos, PNG for crisp graphics or transparency, and WebP where compatibility and workflow make it appropriate. Animated GIFs can be useful but may be relatively large.
Are my uploaded pictures private?
Do not assume so. Public URLs may be shared widely, and security options differ among providers. For sensitive files, use a system specifically designed for confidential collaboration instead of an ordinary public image host.
How long will an image stay online?
This varies by service, plan, and deletion settings. Keep your original.
Can I upload someone else's photo?
Only when you have the relevant rights or permission, or when another lawful basis allows that use; respect licensing and privacy obligations.
What if an image stops loading?
Check the URL, file availability, access controls, and whether the destination permits embedding. Replace broken links when needed.
Is image hosting the same as cloud backup?
No. Sharing-focused image hosts prioritize accessible image links, while a backup system is designed around recoverability, redundancy, and restoring files after loss. An image can be hosted and backed up, but those are different jobs.
How can beginners start safely?
Upload a non-sensitive image, test the link, and keep the original. In summary, knowing what is image hosting gives you a useful foundation for blogs, business communication, customer support, projects, and everyday sharing.
The value comes from using the correct link, maintaining appropriate privacy, and understanding the limits of the service you select. If you want to practice, visit ImgBly, prepare a picture you own, upload it through the site's current interface, and test the resulting sharing option before using it in a live project. Start with one image, follow the checklist above, and build a workflow you can trust as your needs grow.


Comments (0)